Getting to Know MS Paint
Did you know that your computer's operating system has a simple-yet-powerful photo manipulation tool called "Paint"? Since its introduction in 1992 as part of the then-new Windows 3.1, Paint has evolved into its modern-day version, allowing you to do quite a few actions that once required you to buy a photo manipulating software. This guide will teach you how to make the best of Paint, turning you from a novice to a pro. Where is Paint? |
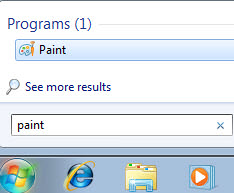 Windows 7 users – Click on the start button and in the search bar type in paint, then select the Paint icon. Alternatively, you can click on Start > All Programs > Accessories > Paint. |
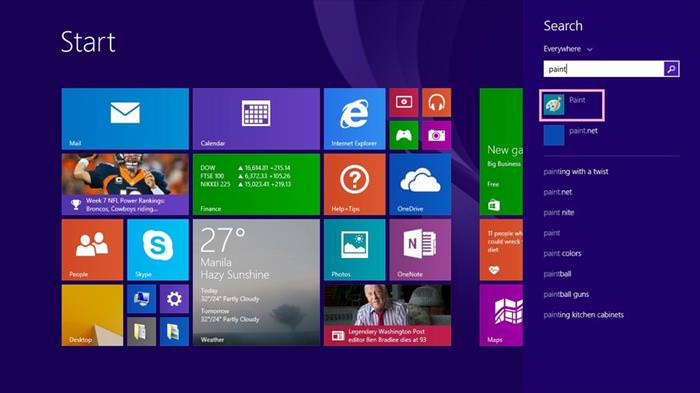
Windows 8/8.1 – In the main menu, scroll until you see the Paint icon and click on it. |
Getting to know Paint
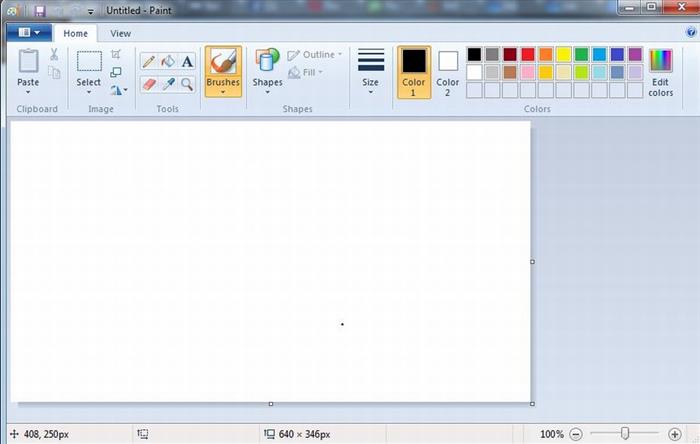
This is the main screen.
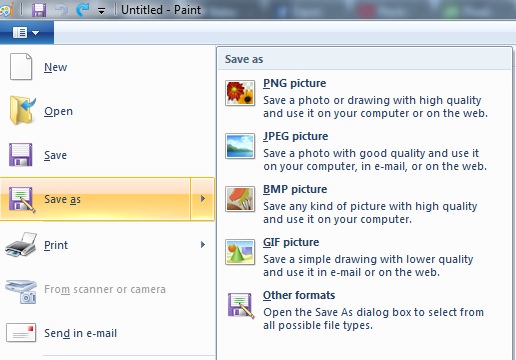
To open a saved image you wish to edit, click on the menu button (highlighted in red). You can now choose to start a new project, open a saved picture, save an image as a different file type, print an image you have open, or email that image to a contact.
This is the main options menu. | |
 | |
You can use the "Select" option to select a section of the photo. The selection can be rectangular or "free form" – meaning you can freely draw the selection you wish to. | |
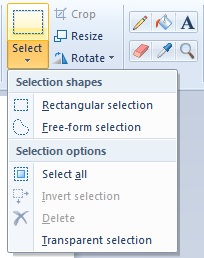 Once selected, you can invert the selection, selecting everything BUT the area you've marked. Another option is to useTransparent selection, which only selects the painted area, without the background.
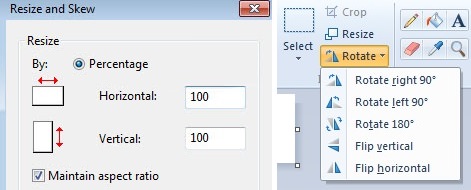
 You can use the crop option to crop the image to the selected area. The resize option will let you change the size of the selected area (or the whole picture if nothing was selected) by percentage of the original size, or by selecting a specific size in pixels. The Rotate option lets you rotate or flip the image as you please.
| |
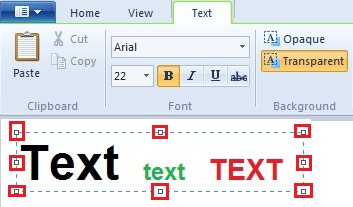
The side buttons to the right of the selection menu are the basic tools, top-down from left to right:
| |
| |
 | |
| |
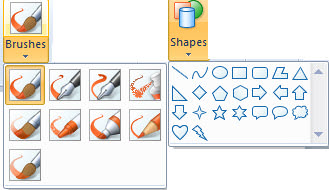
Next, you have the paintbrush options, which let you decide how the brush will work. Next to it is the shapes menu that allows you to select a shape, then draw it as you desire. |
Once you've selected a shape, you can also decide what color its outline will be, as well as the fill. If you don't want a solid fill/outline, you can use the other available option in this drop-down menu. |
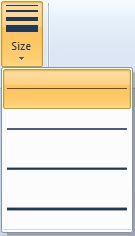 Next is the size menu, which lets you choose the thickness of your brush/pencil strokes. To the right of the size menu, you have Color1 andColor2. Color1 relates to the outline and the default brush color while Color2 is the fill of a shape, or can be used by holding the right-mouse-button, rather than the left. You now have the quick color pallet, as well as the extended color pallet, which lets you choose whatever color you want. If you performed an action that you're not happy with, you can undo it by using the keyboard combination Ctrl+Z. If you've mastered the use of paint, you can try a couple of free, more complex photo manipulation and editing programs: Pixlr – a browser-based photo editing software. It only requires that you have an internet connection and a modern browser (such as Mozilla Firefox or Google Chrome). Adobe Photoshop Express – Another free alternative that is browser-based. It is similar to the famous Photoshop software, but not as powerful. |
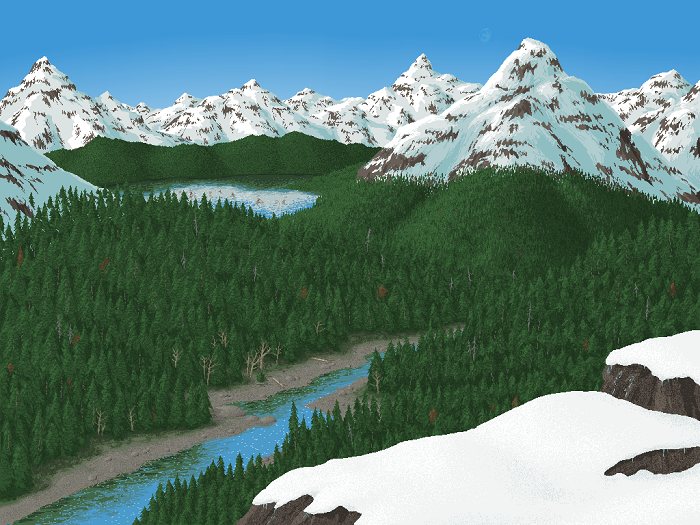
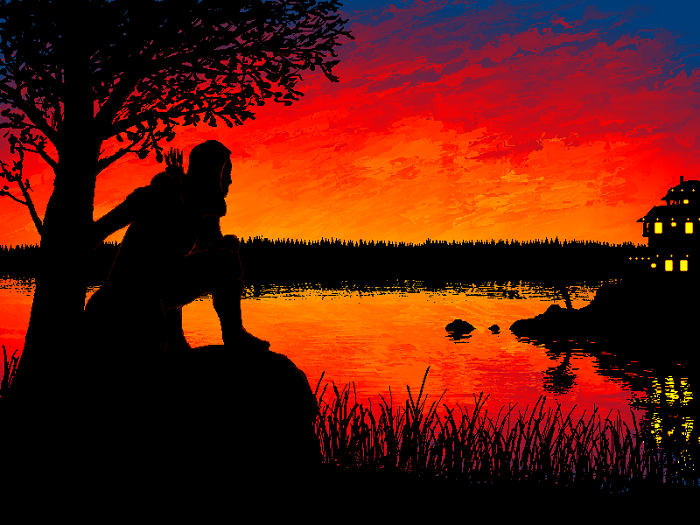
Some art created solely with Paint: |
Posted by: krishnamurthy_gr@yahoo.co.in
| Reply via web post | • | Reply to sender | • | Reply to group | • | Start a New Topic | • | Messages in this topic (1) |
 Pencil – lets you draw


No comments:
Post a Comment